<http>
Description: command for conducting http queries
Required parameters for HTTP command:
comment
alias - unique name of the API you configured in your
integration.xmlfile
Optional parameters:
condition - condition according to which this test step will or won't be executed
threshold - parameter, where the maximum execution time of the command is defined (milliseconds), if the execution time is exceeded, the step will be defined as failed
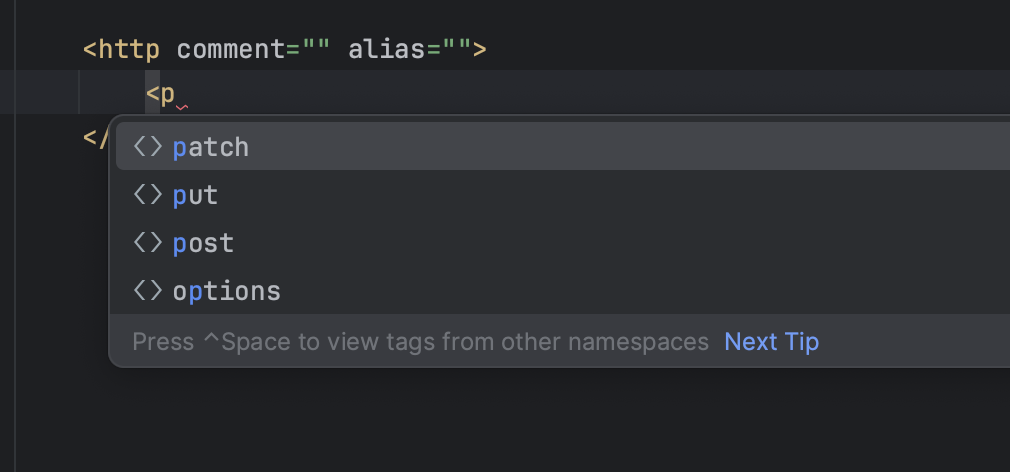
Available HTTP methods:
GET
POST
PUT
DELETE
PATCH
HEAD
OPTIONS
TRACE
Parameters for HTTP methods:
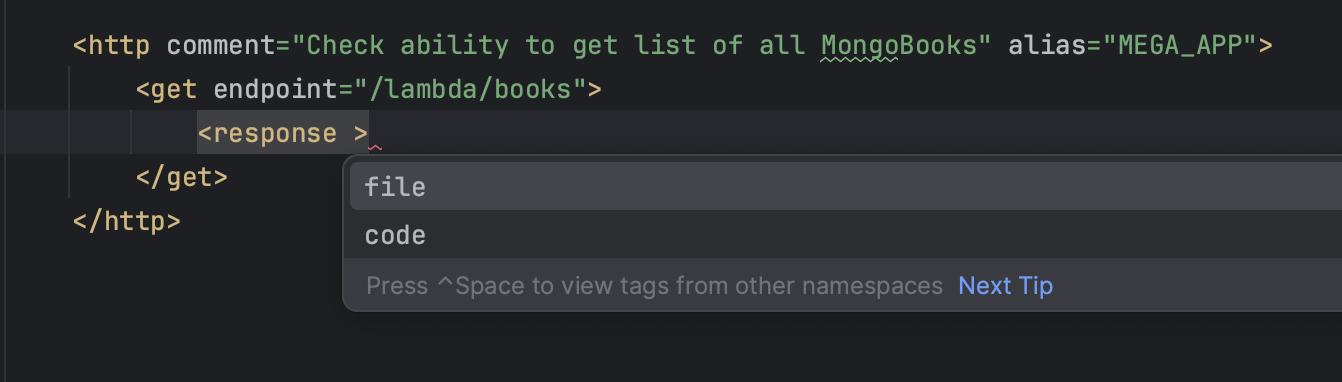
endpoint - endpoint for your query
response
code - expected response code
file - file with expected result for particular query
header
name - name of header
data - data which header has to contain
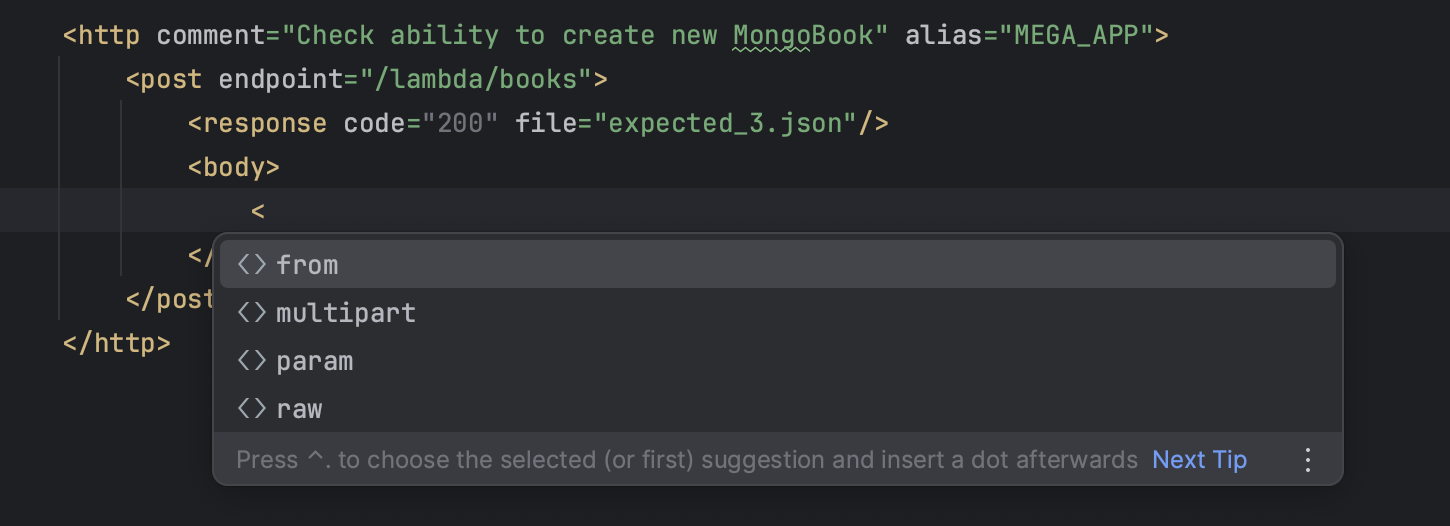
body (for those methods, which require body)
from
file - json file that contains body of your request. This file must be named "request_N.json", where N is number of your test step
param
name - name of parameter
data - data which parameter has to contain
multipart
file
name - key
fileName - value
contentType
raw - you can put your request body just as raw in scenario without file
response
header
body/param
Steps
In an already created scenario or in a new one created:
Make sure that
WEBcommand is closed or absent
Open
httpcommand, fill in the comment and alias
Select a request method
Indicate
endpointandresponse code
Create an empty
expected_file.jsonin the scenario folder
Indicate expected_file.json in
httprequest
The number of expected_file depends on the number of the tested scenario’s step
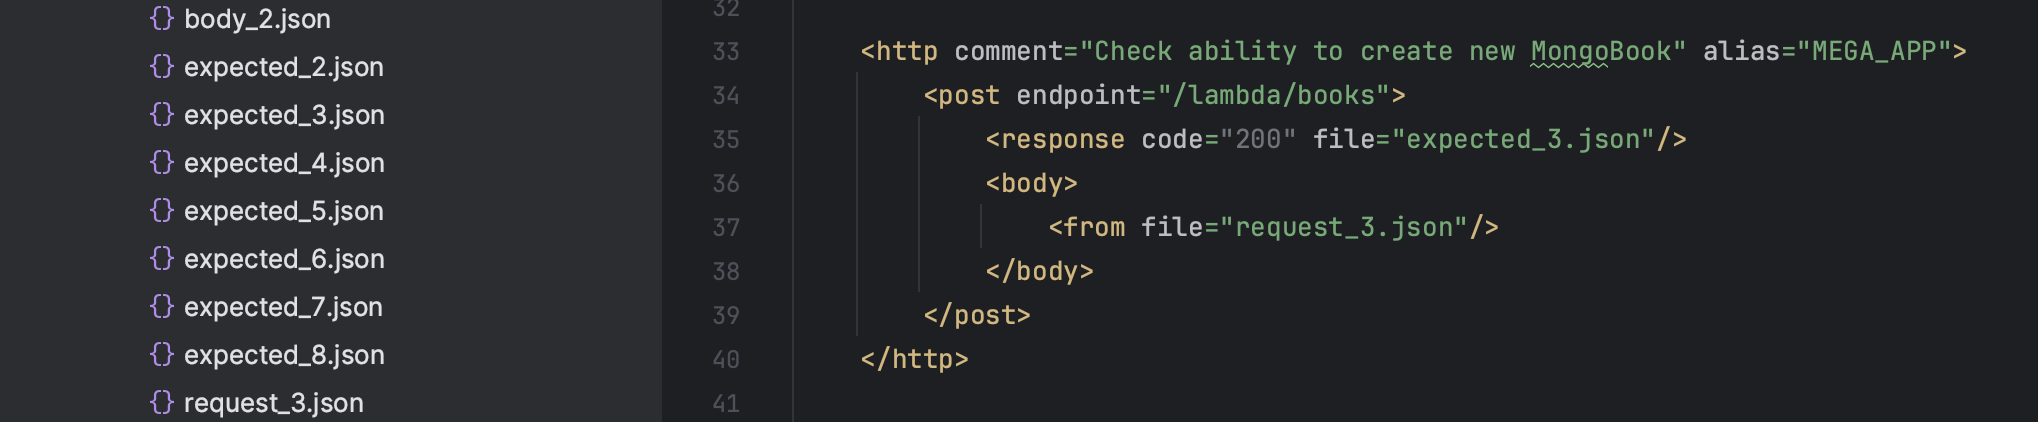
Select a transfer type of the body of the request
Open
<body>tag
An example of transferring the body of the request using
<from>file parameter
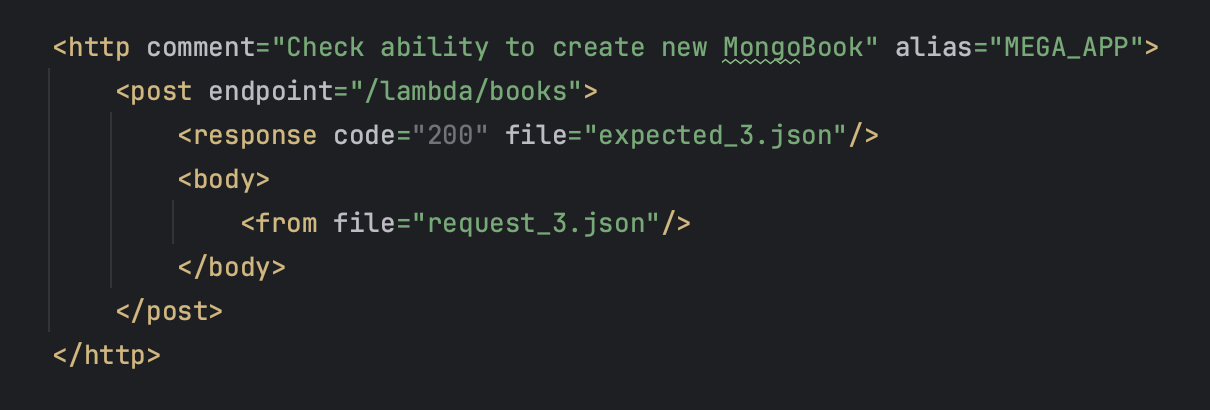
Create
request_file.jsonto transfer the body of the request (in the scenario folder)
Put the body of the request into created
request_file.json
Set a name request_file.json - inside of
<from file=""/>
YouTube Instructions API
Instructions for working with the
APItest scenario
'To start, click on the running line'
VAR
The Usage of Variations makes your API tests more efficient and flexible. Therefore we recommend you checking more information regarding it here
Structure HTTP
The HTTP request structure has all the basic features of API testing tools.
HTTP in a test scenario
Request file
Expected Result
Comparison
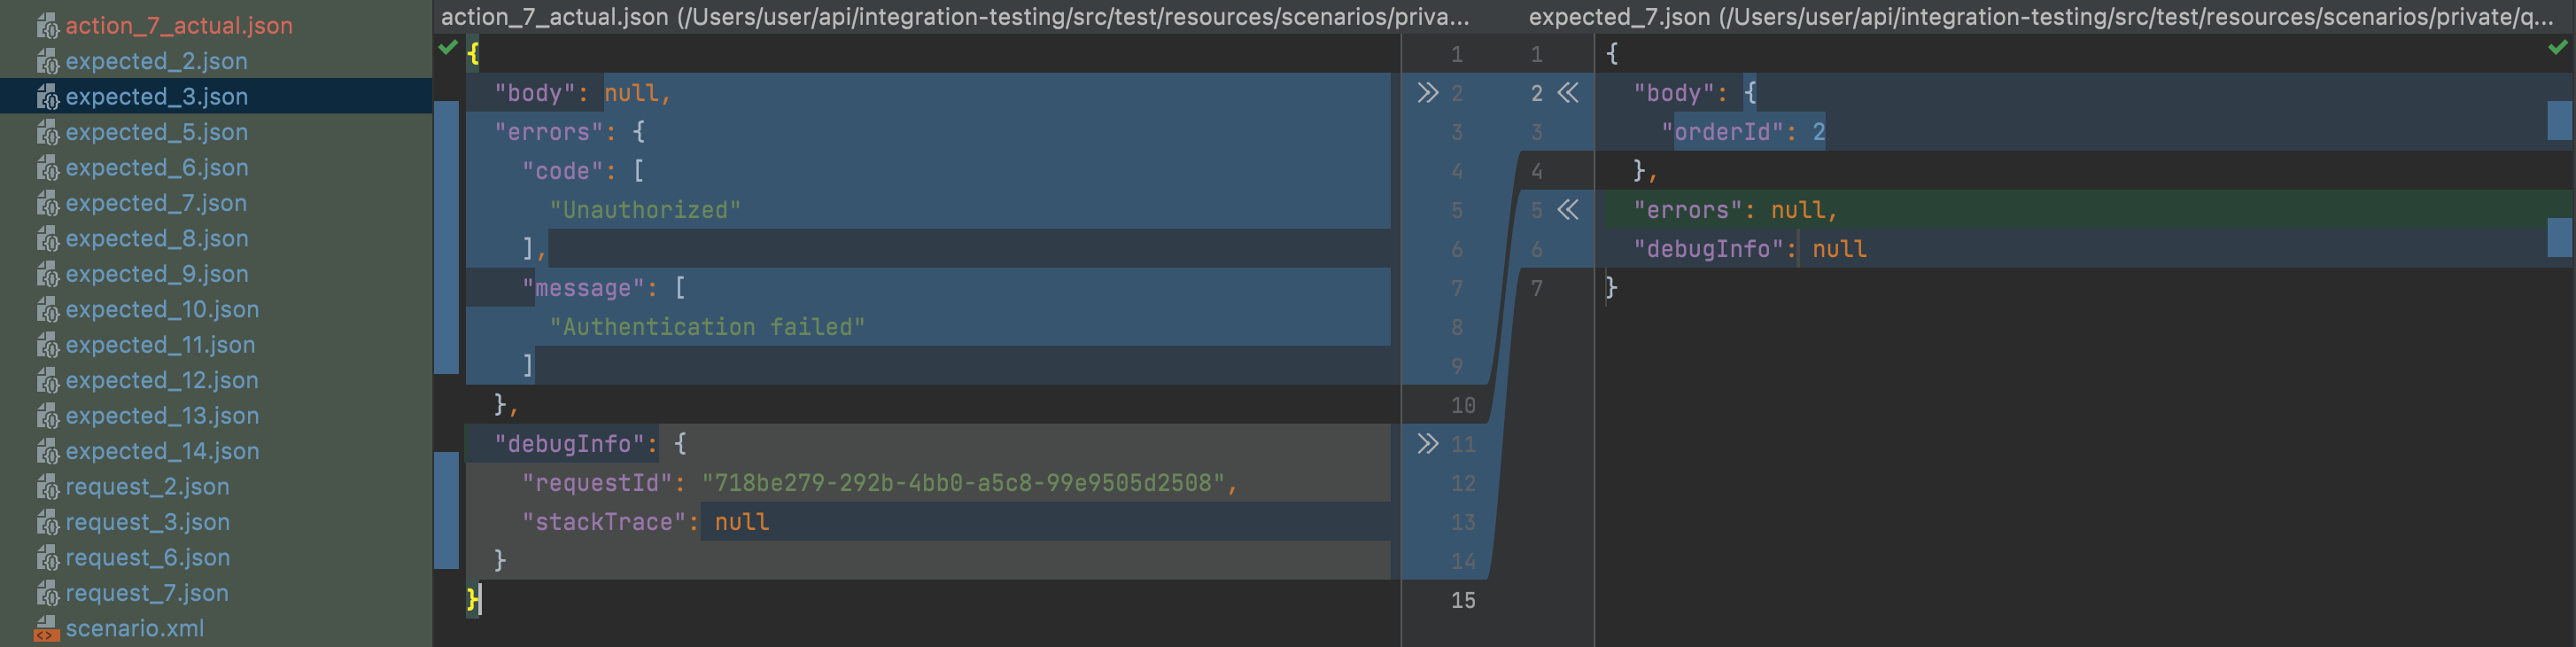
After executing each HTTP request, comparison generates an actual_file which contains the API response in json format with the response code and data.
actual_fileis generated in order for QA-specialist to understand how the system reacted to this check right away. If QA is satisfied with the actual result, then all the data from actual_file, QA transfers to a file calledexpected_file( which is in the http-request structure as the expected result of the test, to pass this test successfully.
HTTP in Testlum allows you to perform smoke testing (and make sure that nothing important is broken), conduct unit and integration testing, run the same tests with various sets of input data, or quickly perform any supporting actions to create test data and situations.
Merge test (WEB/API)
Testlum provides you with ability to conduct different types of testing within one scenario. So that you can easily increase efficiency and coverage level of your tests.
Here is an example of merge test scenario with WEB and API test steps within one scenario