About Testlum
General Features
UI Testing
Api Testing
Database Testing
Services Testing
Additional Materials
Powered By
Installation:
- You need to create an account on the Testlum website https://testlum.com/sign-up
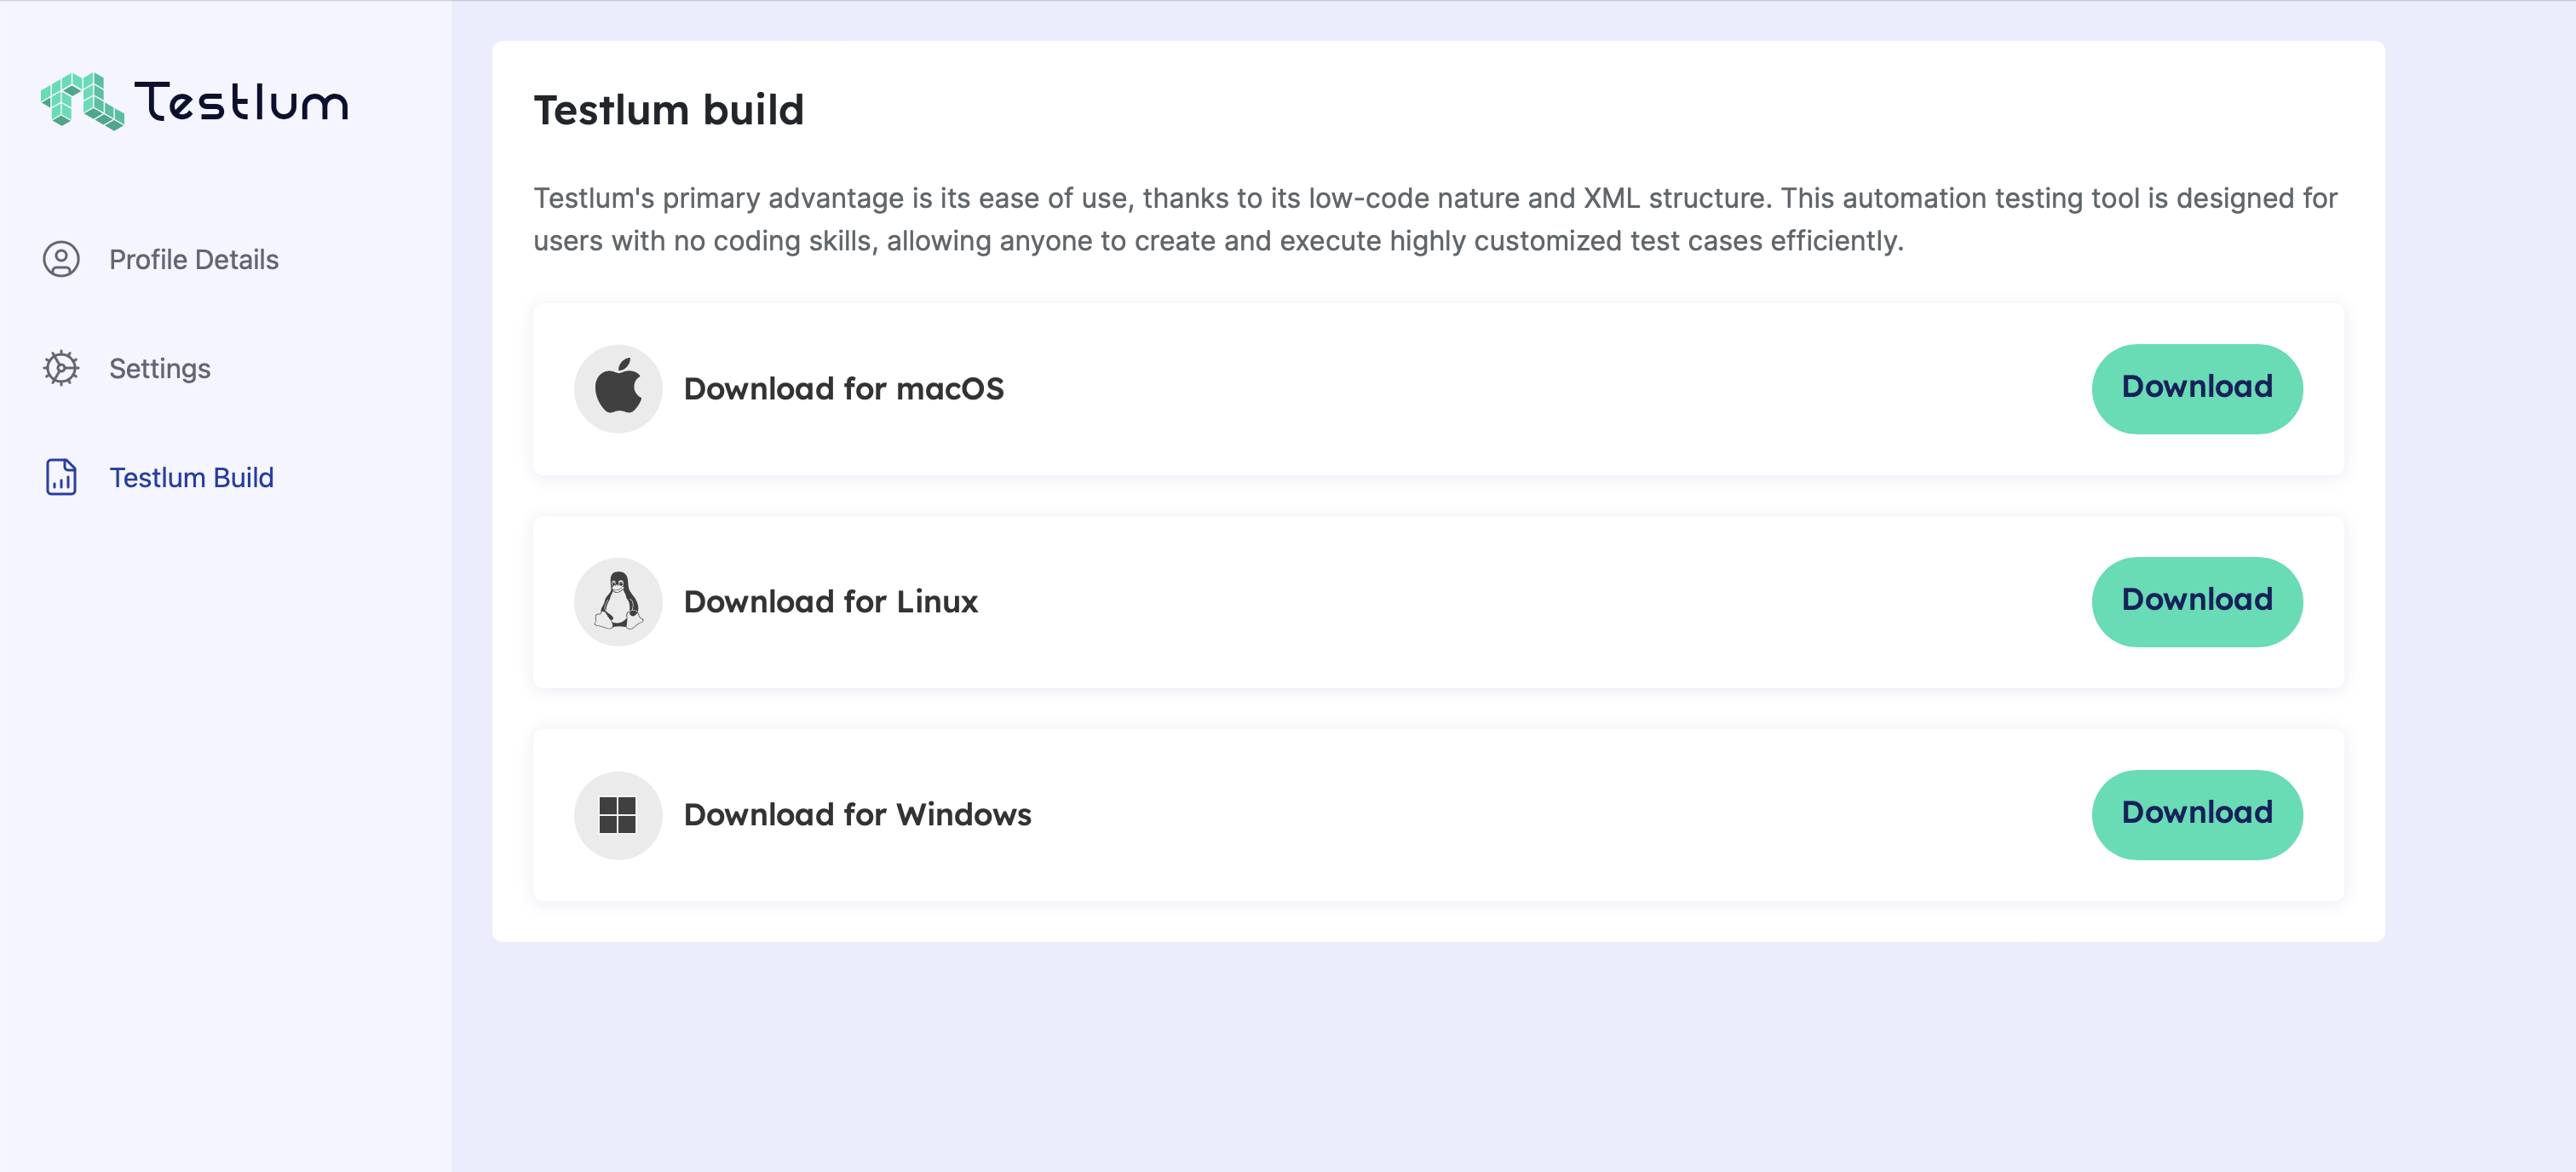
- Download a necessary build for your OS from https://testlum.com/account/builds
- Open the downloaded Testlum on the laptop (if necessary, give access in System Settings to open an app that was downloaded not from the official app store).
- Login with your credentials from the Testlum website.
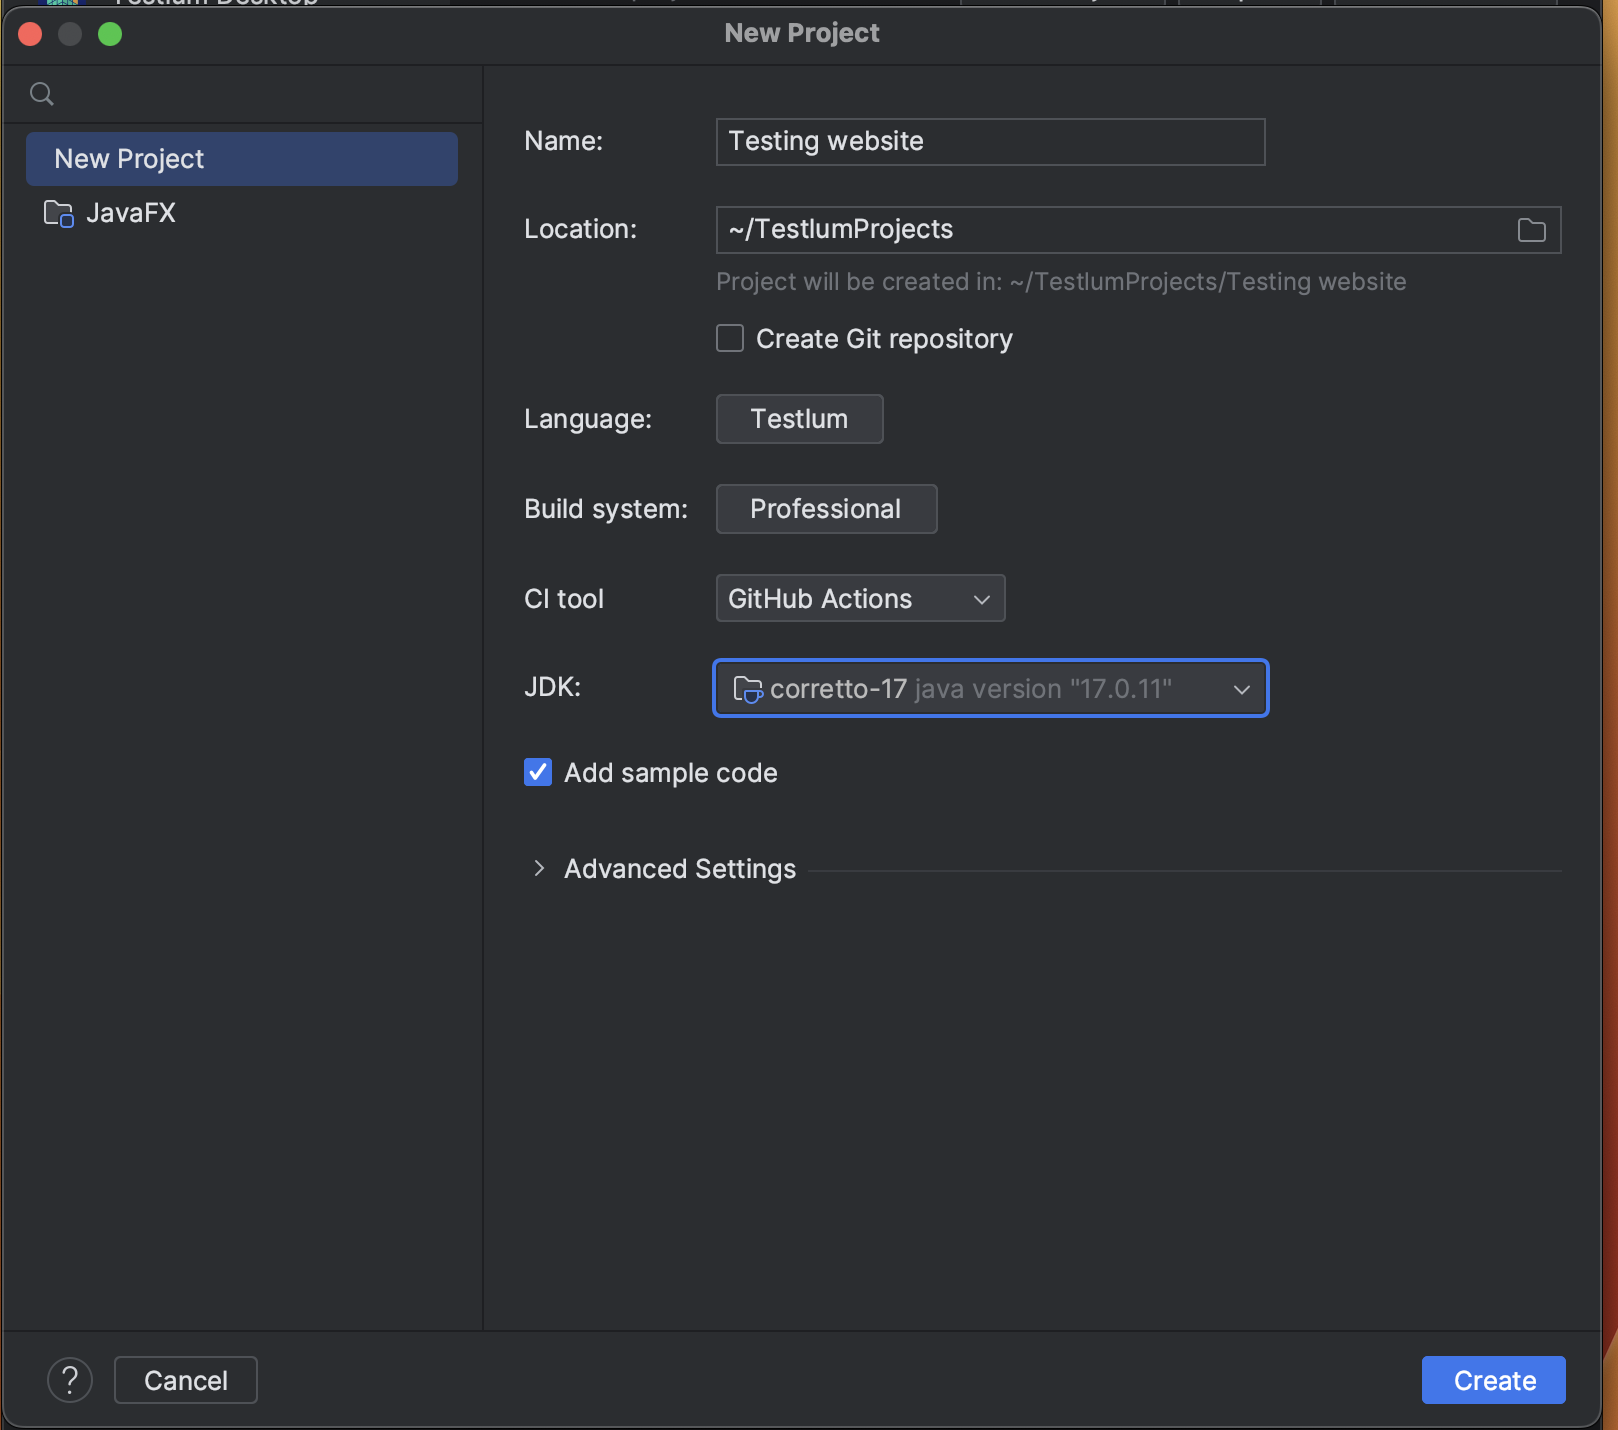
- Create a new project (it’s recommended to use JDK 17+). If you want to have an example of the scenario, mark the checkbox "Add sample code". It includes an example of test resources containing the required folder structure, a configuration file with minimal settings, a few simple test scenarios, and other needed data (e.g., db patches, web element locators, etc.).
- That’s all. Now you can run the first test scenarios by clicking the Run button:

Run from CLI
- If Testlum isn’t opened, open a terminal on the laptop and navigate to the folder where the Testlum Project is located.
xxxxxxxxxxcd /Users/{your-user}/TestlumProjects/{project-name}- Enter the following command in the terminal:
xxxxxxxxxxJava -jar TestlumRunner.jar -c=global-config.xml -p=/Users/{your-user}/TestlumProjects/{project-name}/RESOURCES_EXAMPLEIf Testlum is opened, open a terminal in Testlum and enter the following command:
xxxxxxxxxxJava -jar TestlumRunner.jar -c=global-config.xml -p=/Users/{your-user}/TestlumProjects/{project-name}/RESOURCES_EXAMPLE(Please note that you need to input your values for the filenames and the absolute path).
If you need to run some containers, e.g., with a database, etc., you need to install Docker in the system.