About Testlum
General Features
UI Testing
Api Testing
Database Testing
Services Testing
Additional Materials
Powered By
Writing script quick start
There are 2 options to create a scenario:
- manually adding all necessary commands
- adding commands by Recorder
- Make sure that the Testlum folders structure meets the needs.
- Set up config files.
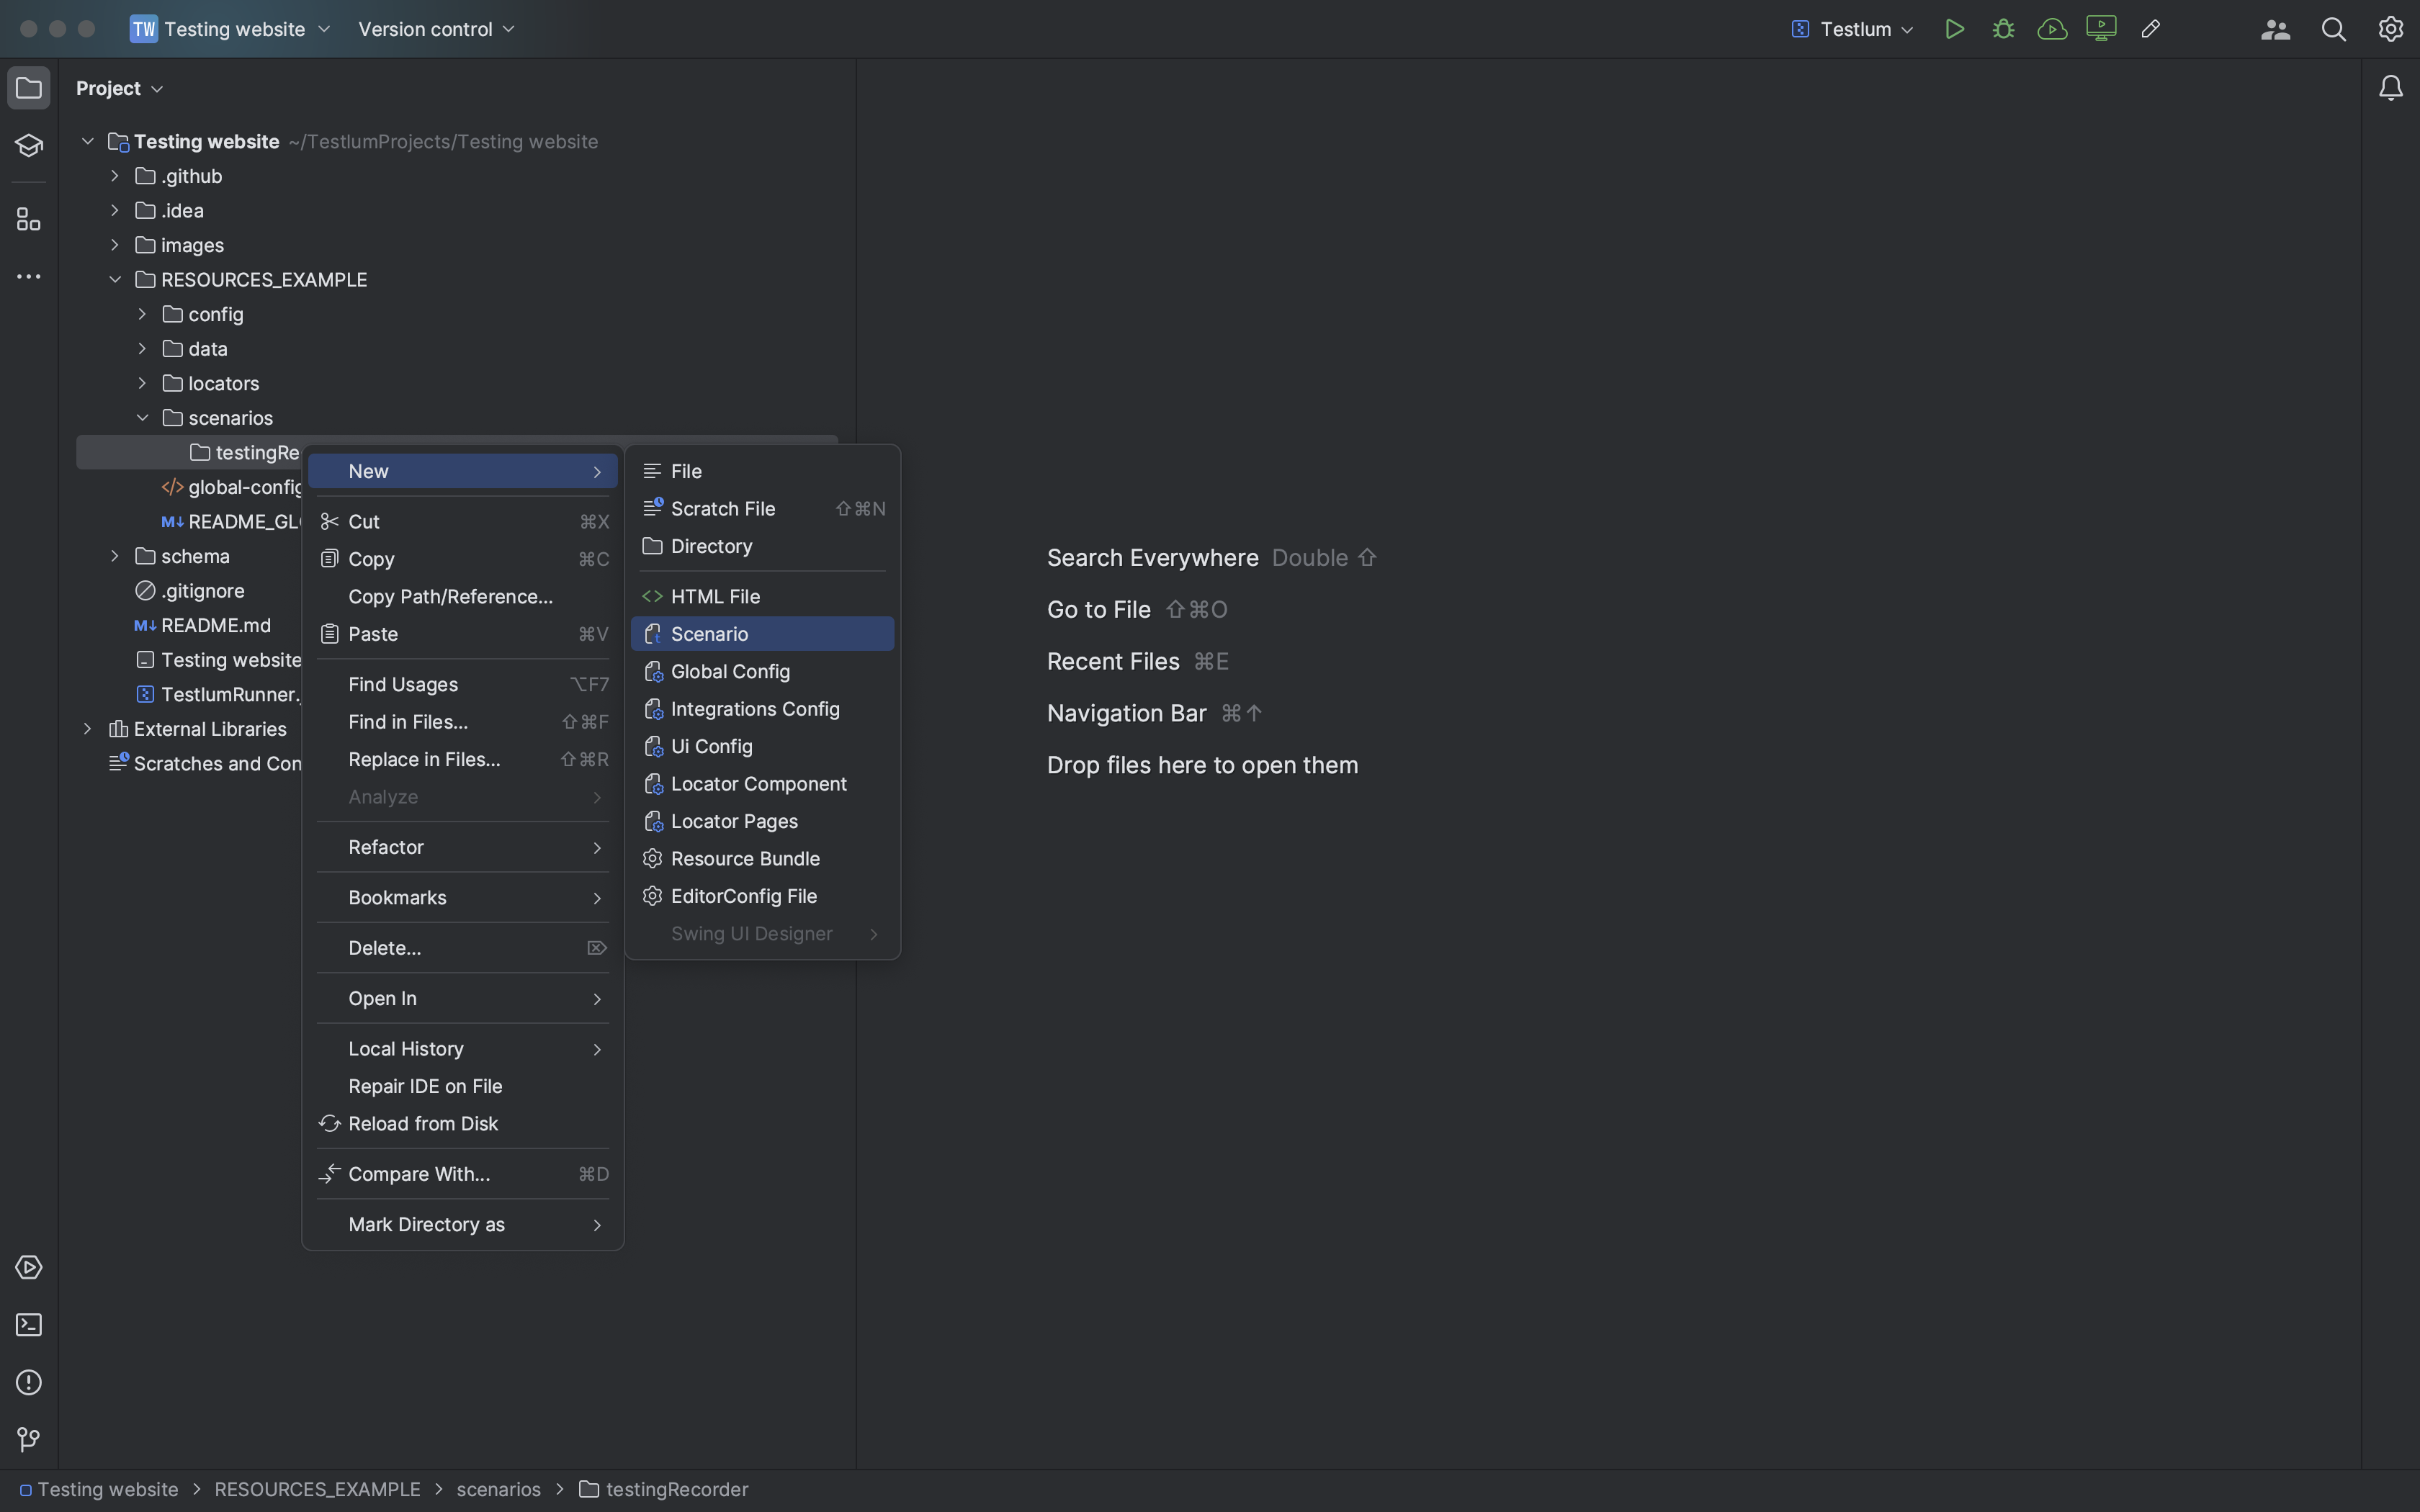
- Create a new directory in the ‘scenarios’ folder and add to it a new scenario.
- All scenarios have the same header.
xxxxxxxxxx<scenario xmlns:xsi="http://www.w3.org/2001/XMLSchema-instance" xmlns="http://www.knubisoft.com/testlum/testing/model/scenario" xsi:schemaLocation="http://www.knubisoft.com/testlum/testing/model/scenario scenario.xsd">- The next necessary command in the script structure is the overview, with which you can add a description and the name of your test scenario.
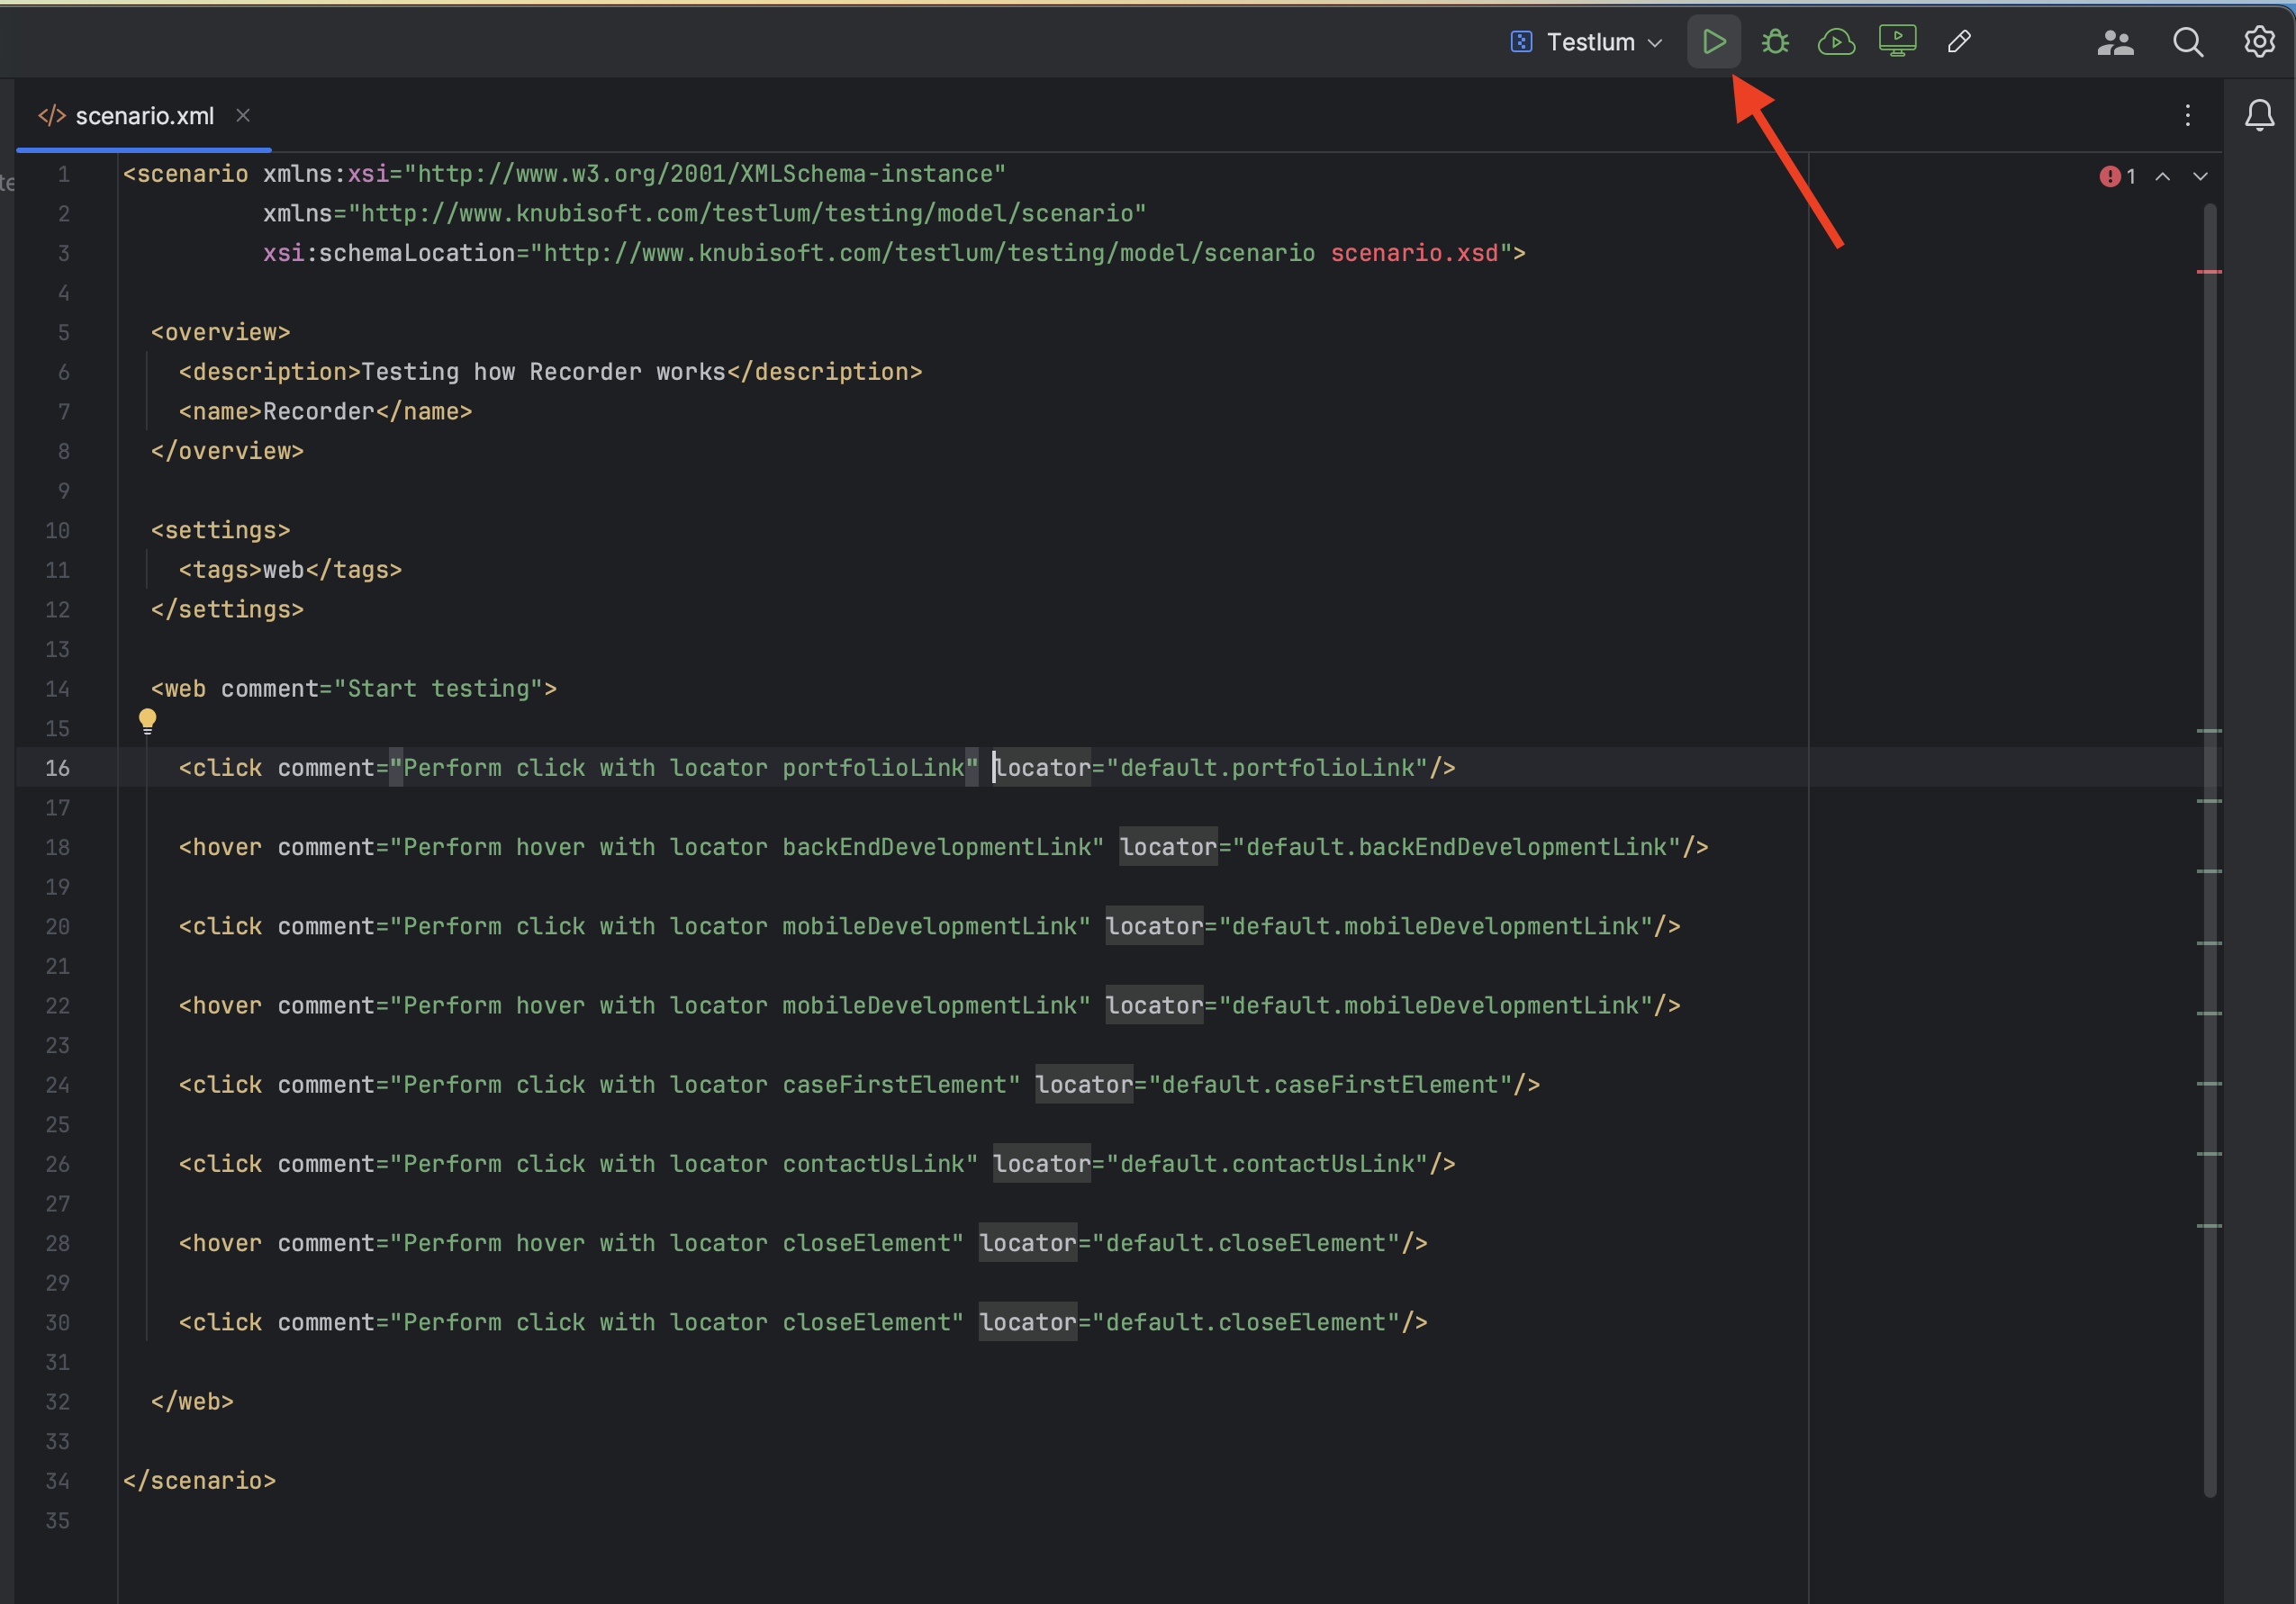
- Write the necessary command tag that is needed to run the scenarios by command.
xxxxxxxxxx<overview> <description>Your first scenario</description> <name>Test</name></overview> <settings> <tags>web</tags></settings>- Add all necessary commands manually or by Recorder (necessarily in Settings turn on the flag showInRecorder="true" for the displaying in the Recorder).
Structure of the scenario
xxxxxxxxxx<scenario xmlns:xsi="http://www.w3.org/2001/XMLSchema-instance" xmlns="http://www.knubisoft.com/testlum/testing/model/scenario" xsi:schemaLocation="http://www.knubisoft.com/testlum/testing/model/scenario scenario.xsd"> <overview> <description>Your first scenario</description> <name>Test</name> </overview> <settings> <tags>web</tags> </settings> <include comment="Include login steps" scenario="/commands/ui/includes/login_web/scenario.xml"/> <web comment="Start UI scenario"> <click comment="Your first step in Testlum" locator="my_locators.click"/> </web></scenario>- Create a file where you will store your locators - my_locators.xml in the locator's section according to the project structure.
- In this file, place the structure as in the example below and put the path to the item you want to interact within the script.
With this locator, you will be able to interact with the elements in your scenario.
xxxxxxxxxx<page xmlns:xsi="http://www.w3.org/2001/XMLSchema-instance" xmlns="http://www.knubisoft.com/cott/testing/model/pages" xsi:schemaLocation="http://www.knubisoft.com/cott/testing/model/pages pages.xsd"> <details> <name>Locator for registration</name> <url>YOUR-URL</url> <description>Simple ui test</description> </details> <locators> <locator locatorId="click"> <id>header-logotype_item</id> </locator> </locators></page>- Run Testlum